Abstract
In this tutorial, you will learn how to display 3D data with the help of Vizkit. For this tutorial, you should already have read the data visualization tutorial.
Vizkit 3D
In Vizkit, there is a dedicated subsystem for displaying 3D Data. It is called Vizkit3D. The basis for the 3D display is provided by a widget called ‘Vizkit3dWidget’, which is a vizkit widget. On the Vizkit3dWidget, one may register Vizkit3d-Plugins for displaying individual 3D data structures inside the widget.
As all of this is pretty confusing, here the naming in short form :
- VizkitWidget : 2D Widget
- Vizkit3dWidget : The Vizkit-provided Vizkit that allows you to display 3D data
- Vizkit3dPlugin : A plugin which is registered on the Vizkit3dWidget
How to use it
First, we need to create the Vizkit3dWidget. We could do this in the same way as we create any other VizkitWidget (i.e. by using default_loader.create_widget), but Vizkit provides a shortcut:
require 'vizkit'
Orocos.initialize

## Create a widget for 3d display
view3d = Vizkit.vizkit3d_widget

# Show it
view3d.show
# And listen to GUI events
Vizkit.exec
For this tutorial, we pick a plugin, that will show a simple 3D representation of a Pose in space. Note that you can add multiple Vizkit3DPlugins to the Vizkit3DWidget to create complex 3D visualizations.
Insert the following line before you call Vizkit.exec:
rbs_plugin = Vizkit.default_loader.RigidBodyStateVisualization
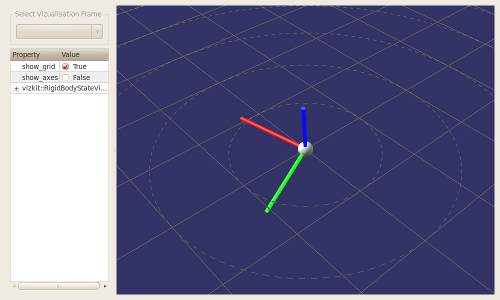
If you execute your script now, you should see a window with a sphere that is ‘spiked’ with three cylinders. By clicking inside the window and dragging, you should be able to change the view.
Feeding data to your plugin
So, how do we pass new data to our visualizer? Quite simple, we just call ‘updateRigidBodyState’ on it, before calling Vizkit.exec:
rbs = Types::Base::Samples::RigidBodyState.new

rbs.position = Eigen::Vector3.new(0, 5.0, 0)
rbs.orientation = Eigen::Quaternion.new(0, 0, 0, 1)

rbs_plugin.updateRigidBodyState(rbs)
Progress to the next tutorial.